I wanted the glow, the bounce, the tiny-pore fantasy. What I got was a week of burning cheeks, tramline marks on my jaw, and an expensive lesson in skin biology.
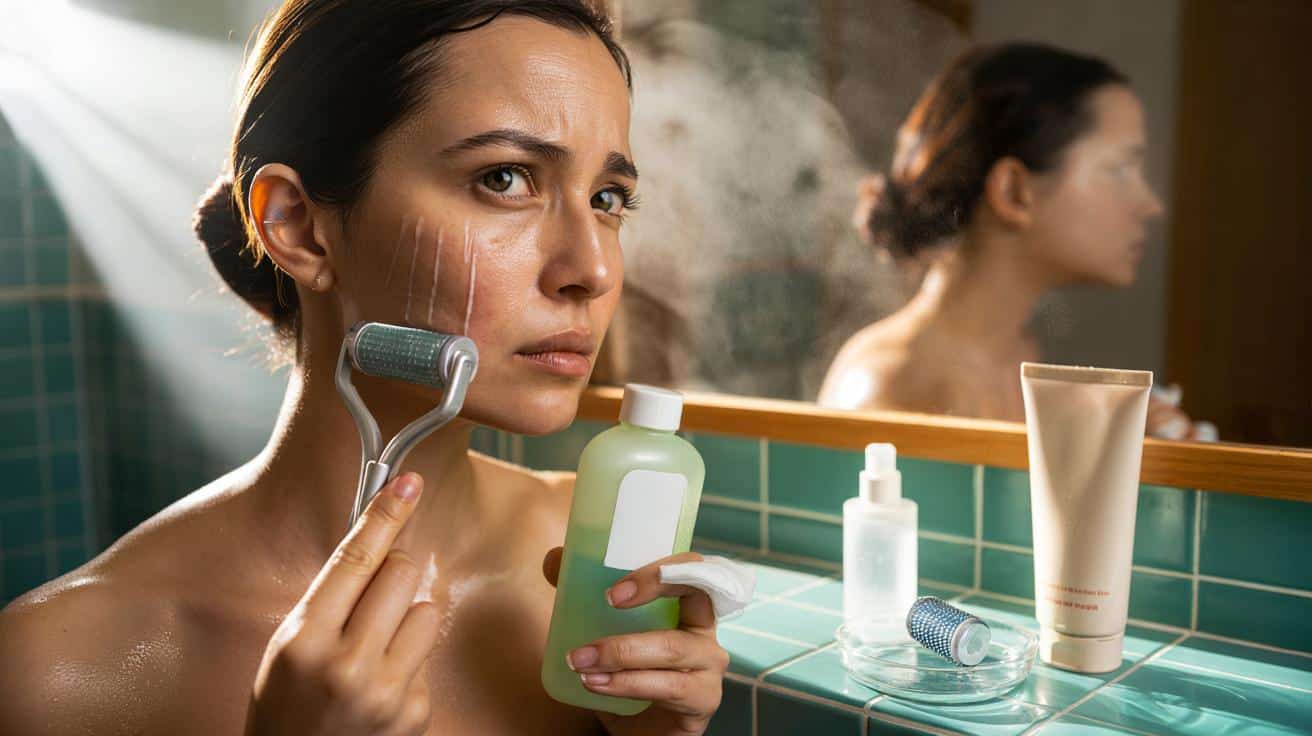
The bathroom was warm, the mirror fogged from a late shower, and my “spa playlist” did its best to sell the vibe. I clicked open a roller I’d ordered online, the kind with hundreds of needles and a cheerful promise of collagen. A YouTube tutorial sat paused on the exact moment the creator smiled and said, “Just be gentle.”
I wasn’t reckless. I wiped the tool with alcohol, tied my hair back, and tried a few tentative passes on my right cheek. The sting felt oddly satisfying, like progress. *I slept propped up, cheeks humming like lit wires.* Then the burning started.
The mistake that snowballed
Here’s the thing I did that turned a small sting into a full-on nightmare: I used a 1.5 mm roller meant for body, not face, and I pressed like it was a gym session. The needles weren’t just pricking; they were carving faint tracks. I paired that with a swipe of glycolic toner after rolling, because “actives penetrate better,” right?
By morning, my face was tight and shiny, with neat little stripes across the jawline like train tracks under thin skin. We’ve all had that moment where bravado meets biology and biology wins. A quick scroll showed 700 million views on micro-needling videos, and an endless carousel of “before and afters.” Mine looked more “after and ouch.”
Micro-needling works by creating controlled micro-injuries that nudge the skin to heal stronger. My DIY session wasn’t controlled. I had compromised my barrier, opened tiny portals, and then poured acid through them. Sunlight the next day didn’t help; pigment cells grabbed the chaos and left me with souvenir shadows that outlasted the panic.
How to do it safely (and what I wish I’d known)
If you’re going to try this at home, choose a face-friendly length: 0.2–0.3 mm for product boost, up to 0.5 mm for texture on resilient skin. Sterilise the head in 70% isopropyl alcohol for 10 minutes, let it air-dry, then roll with feather-light pressure. Think gentle cross-hatch: horizontal, vertical, a few diagonal passes, two to three times per area, then stop.
Skip heat, skip steam, keep the room bright enough to see what you’re doing. Apply a dull, cushiony hydrating serum (hyaluronic acid, glycerin), then a plain ceramide moisturiser. Morning after, SPF 50 like your future self depends on it. **Never exceed 0.5 mm on the face at home.** Let’s be honest: nobody actually does this every day.
Common mistakes? Chasing “feeling it” with pressure, rolling over bumps, mixing in exfoliants or retinoids, and reusing a dull or bent tool. **Do not roll over active acne.** It spreads trouble and invites infection. **Skip acids and retinoids for 72 hours.** Your skin is busy repairing; give it quiet.
“At-home micro-needling should feel like fine sandpaper, not shards of glass,” a London dermatologist told me. “Less depth, fewer passes, longer rest. Healthy skin heals prettier.”
- Pick quality: a reputable roller or a gentle stamping device.
- Prep: clean, dry face; disinfected tool; clean hands.
- Technique: light pressure, limited passes, no tugging.
- Aftercare: humectants, ceramides, SPF; no actives for 72 hours.
- Maintenance: replace the head after 8–10 uses or at the first sign of dullness.
Where I am now
The tramlines softened after six weeks, partly with patience and partly with mind-numbingly bland skincare. I learned to prioritise barrier care before any “collagen journey.” The real turn came when I treated it like training: load, rest, rebuild, repeat — with the rest part in bold in my head.
I still micro-needle, but my roller is smaller and my ego is, too. I stamp lightly once every four to six weeks, on calm skin, under boring bathroom light, with a timer and a hard stop. The ritual feels less like hacking my face and more like a careful nudge.
There’s a kind of peace in respecting the limits of living tissue. It grows on you, that patience. And it’s funny — the glow looks better when you’re not chasing it.
| Key points | Detail | Reader Interest |
|---|---|---|
| The nightmarish mistake | Used a 1.5 mm roller on the face, pressed too hard, then applied glycolic acid and went into sun | Relatable “I did it so you don’t have to” cautionary tale |
| Safe home protocol | 0.2–0.5 mm only, light passes, sterile tool, hydrating aftercare, strict SPF, no actives for 72 hours | Clear, step-by-step method readers can follow tonight |
| When to avoid | Active acne, eczema flares, sunburn, recent waxing or peels, compromised barrier | Prevents painful setbacks and protects long-term skin health |
FAQ :
- Is micro-needling at home safe?For shallow needles and gentle technique, it can be, if you keep it clean and simple. Avoid if you have active infections, recent peels, or a flaring skin condition.
- What needle length should I use on my face?0.2–0.3 mm for absorption, up to 0.5 mm for texture on resilient skin. Anything deeper is best left to a professional device in a clinic.
- How often should I micro-needle?Every 2–4 weeks for 0.3–0.5 mm, with plenty of downtime. Weekly is often too much; collagen remodelling needs time between sessions.
- What should I apply after rolling?Think soothing and bland: hyaluronic acid, panthenol, ceramides, squalane. Save acids, vitamin C, and retinoids for later in the week.
- Can darker skin tones micro-needle?Yes, but with extra care around inflammation and sun. Gentle depths, fewer passes, strict SPF, and avoid anything that stings in the first 72 hours.