The heat drifts, one side roars, the other sulks, and your energy bill creeps up while dinner sulks on the middle rack. A few quiet fixes can bring it back to life without calling a repair van or replacing half your kitchen.
It was a drizzly Sunday in Leeds and the kitchen smelled like butter and hot metal. I watched a tray of roast potatoes do their strange two-act: gold on the right, pale on the left, hissy fit of steam at the door where the rubber looked tired and flat. I nudged the rack, listened to the fan’s faint rattle, and felt a soft breeze of heat leaking through a frayed corner of the seal. That’s money floating out of your kitchen. I turned off the power, lifted the racks, and started with the simplest thing — a clean, a check, a tiny tweak. The fix took ten minutes.
The quiet fixes hiding in plain sight
Most ovens don’t fail dramatically; they just drift. A gasket flattens, a hinge sags half a degree, a thermostat reads a touch rosy, and suddenly your lasagne is crunchy on top and sleepy inside. Peek closely and you’ll see the clues: a browned tide line on the door glass, flour dust burned into a pale fan guard, and a light bulb the colour of weak tea that makes everything look done before it is.
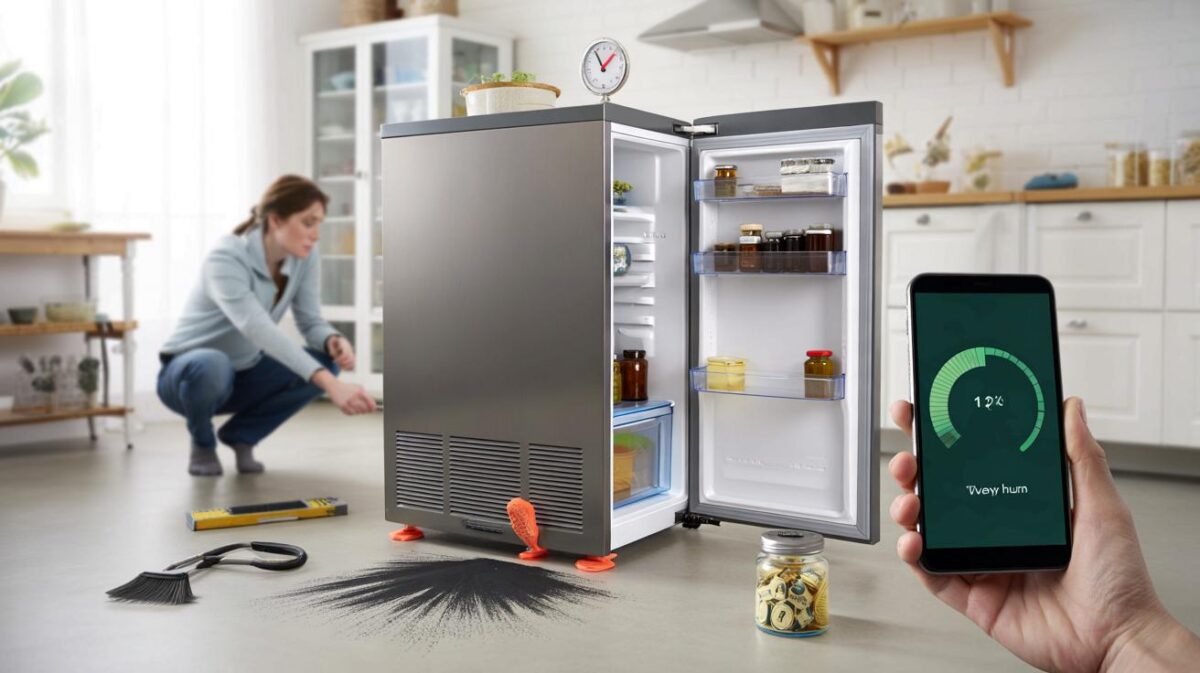
When a neighbour asked why her Victoria sponge rose like a hill on one side, we pulled the oven forward and put a small level on the shelf. The bubble leaned east, and so did the cake. We wound two feet by half a turn, replaced a £12 door gasket, and ran a test at 180°C with a £9 oven thermometer. The oven was overshooting by 15°C, so we nudged its temperature offset down — no parts, just a menu setting hidden in plain sight.
Think of your oven as a box of controlled heat, airflow and time. If heat escapes at the door, the thermostat keeps firing to catch up, wasting electricity and never settling, which ruins consistency. If the fan can’t push air freely because the guard is clogged, you get hot corners and cool shadows where pastries sulk. Calibrating the thermostat and restoring the seal lets heat cycle calmly, so the whole cavity behaves like one room, not a weather map.
Hands-on hacks that pay you back
Start with a clean that targets performance, not perfection. Pull the plug or switch off at the wall, remove racks, and lift out the side supports if they unclip. Mix a paste of bicarbonate of soda and a little warm water, spread it thinly on the glass and enamel, and give it 20 minutes to soften the film, then wipe with a damp microfibre cloth and a splash of white vinegar for the final pass. Take off the fan cover if yours allows (usually a few screws), brush off crumbs, and vacuum the cavity edges where heat likes to burn debris into insulation.
Next, fix the heat path. Run your fingertips gently along the door seal for gaps, splits or shiny flat spots; if it’s tired, a replacement is cheap and quick, and it changes everything. With a simple oven thermometer in the centre rack, preheat to 200°C and watch how the temperature settles for 15 minutes, then adjust your oven’s calibration setting if it runs hot or cold by more than 10°C. Level the appliance with a spirit level so fats and batters don’t pool, and make sure the probe or sensor isn’t buried under foil or trays.
Foil looks tidy, but it hurts performance. Lining the base traps heat, warps panels, and can throw off thermostats; it also blocks vents that keep the control board cool. We’ve all had that moment when the smoke alarm trills and the door flies open in a panic, but resist drowning the elements with spray cleaners — wipe around them instead, and let baked-on spots soften with steam from a small pan of water heated in the oven. Let’s be honest: nobody actually does this every day.
“Heat is like city traffic — it needs clear routes, good signals and sealed doors,” says appliance engineer Mark Gabbitas. “If the seal is shot or the fan’s clogged, you can throw money at recipes and still lose the plot.”
- Weekly: quick wipe of glass and door edges, clear crumbs from the floor and fan guard.
- Monthly: inspect and clean the door seal and hinge area; tighten any loose shelf supports.
- Quarterly: run a 180°C test with a separate oven thermometer, note any offset, and adjust.
- Twice a year: remove and wash racks and side supports in hot soapy water; vacuum behind the oven.
- When in doubt: replace the bulb for true colour, and book a pro if you smell gas or see sparking.
Keep it going without spending a fortune
There’s a quiet satisfaction in turning a “knackered” oven into a steady, trustworthy tool with nothing more than a cloth, a £10 thermometer and a new seal. You’ll cook a roast without pivoting trays, bake biscuits that match on every edge, and notice the fan cycling less because the box is finally holding its heat. Your food improves, your bills ease, and your evenings feel calmer. Share the small wins — the first tray that browns evenly, the pizza that crunches without char — and you’ll nudge someone else to bring their oven back from the brink with the same gentle fixes.
| Key points | Detail | Reader Interest |
|---|---|---|
| Restore the heat seal | Replace flattened gaskets and check hinges for a tight close | Instantly steadier temperatures and fewer burnt edges |
| Calibrate temperature | Use a separate oven thermometer and adjust the offset by ±5–20°C | Recipes work as written, no guesswork or wasted bakes |
| Clear airflow paths | Clean the fan cover, avoid foil linings, and level the racks | Even browning across trays and faster, quieter preheats |
FAQ :
- How do I know if my oven runs hot or cold?Place an oven thermometer on the middle rack, preheat to 180°C, and watch for 15 minutes. If it settles 10–20°C off, adjust the oven’s calibration setting to match the thermometer.
- Is the self-clean cycle a good idea for old ovens?Used sparingly, yes, but high-heat cycles can stress old seals and electronics. A bicarb-and-vinegar clean plus a warm steam loosen works well and is gentler.
- Can I replace a door seal myself?Most are push-in gaskets that take five minutes and no tools. Match the model number, press the new seal into the channel, and test for a snug close with a sheet of paper.
- Why does one side always burn?Common culprits are a dirty fan guard, a bent rack, or a tilted oven. Clean the guard, level the feet, and rotate trays halfway through for tricky bakes.
- What single tool makes the biggest difference?A basic oven thermometer. It tells you the truth about preheats and lets you set a permanent offset so every recipe starts on steady ground.